Adding an Image to a Course
To add an image to a course, navigate to the courses page of your site (Learning Center > Courses).
From here, click the blue pencil icon next to the course to which you would like to add an image

On the following screen, click the button to "Choose File" next to the Short Description Image section. From here, you will be able to select an image from your computer. Note that for best image quality, we recommend image dimensions of 690x300

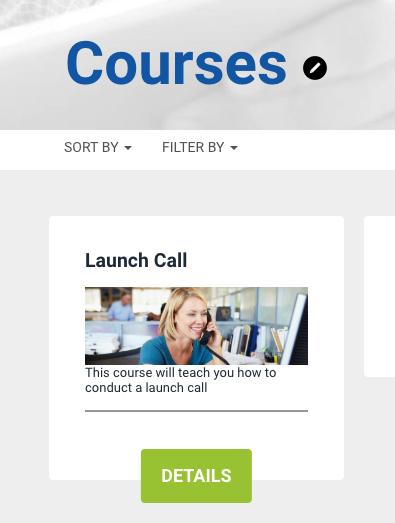
Once you have uploaded an image to the course and saved, you will then see that image appear for that course in the course list

Adding an Image to a Package
You can add an image to a package by navigating to the Packages area of the site. From within any package, you will then see the option to add a "Bundle Image" to any package (Note: the option to include a bundle image will only appear within a package if two or more courses are included in that package. If only one course is included in a package, the image within that course will display by default).

Once you have uploaded your image and saved, you will see that image appear for that package on the front end of your site

Making your packages the same height
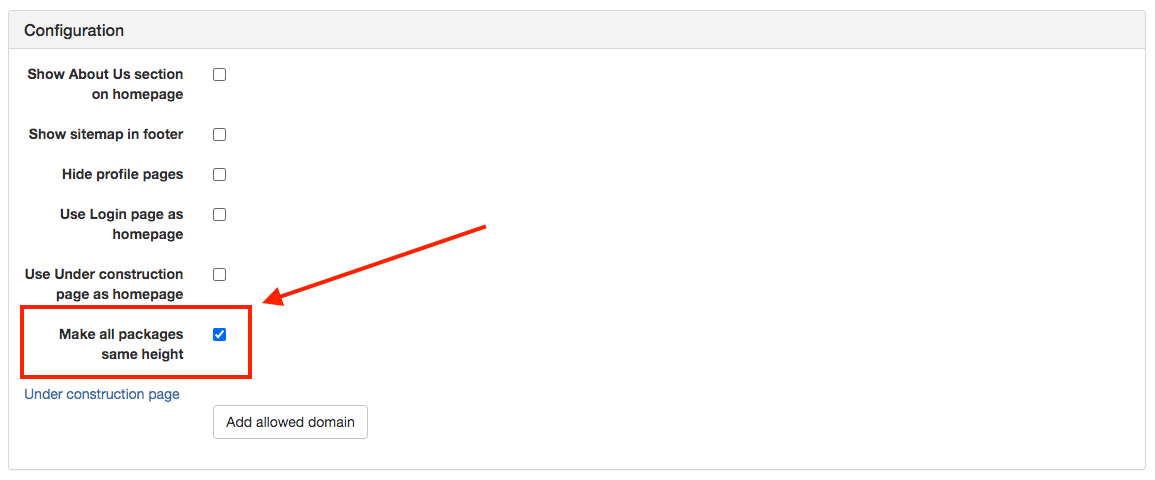
If you have added images that are different sizes but you still want your packages to all be the same height, you can use a setting to control this. To do this, click the gear icon at the top right of the admin home page, and scroll down to the Configuration area. In this section, you will see a checkbox to "Make all packages same height". Simply check this box and click "Save" at the bottom.
